Physical Address
304 North Cardinal St.
Dorchester Center, MA 02124
Physical Address
304 North Cardinal St.
Dorchester Center, MA 02124

Silk, often hailed as the “queen of fabrics,” has been cherished for centuries for its luxurious feel, lustrous sheen, and remarkable versatility. The process of transforming raw silk into the vibrant, colorful fabrics we see in the market is a fascinating journey that combines art, science, and precision. For those new to the world of silk fabric production, understanding the dyeing process can be both enlightening and captivating. In this article, we will take a detailed look at the steps involved in dyeing silk fabrics, from the initial selection of the silk base to the final quality inspection.
The first crucial step in the silk fabric dyeing process is the selection of the most appropriate silk bases. This task is entrusted to our Quality Control (QC) team, which carefully evaluates different factors based on the desired colors and production requirements. Different colors place unique demands on the base fabrics. For instance, lighter colors may require a more pristine and uniform silk base to achieve a pure and vibrant look, while darker colors can sometimes tolerate a slightly more textured or irregular base.
Once the selection is complete, the chosen silk bases are sent to the dyeing workshop, marking the official start of the dyeing process. It’s important to note that prior to this stage, there are several primary steps in the silk production chain, such as silkworm feeding, silk yarn spinning, cultivation, and reeling yarns from cocoons. However, as these processes occur before our involvement in the dyeing business, we will not delve into them in great detail here.
For any new colors or custom color requests, a crucial pre – production step is the creation of lab dips. Lab dips are small – scale samples of the dyed fabric that are produced to ensure that the colors work correctly before proceeding with bulk production. Our experienced technicians carefully formulate the dye recipes and create lab dips, typically in two or three different shades.
These lab dips are then sent as a complete set to our clients. The clients review and select the shade that best meets their requirements. Based on the client’s selection, our team finalizes the dye recipe and records it for future reference. This step not only helps in achieving the desired color accuracy but also serves as a safeguard against costly errors during large – scale production.
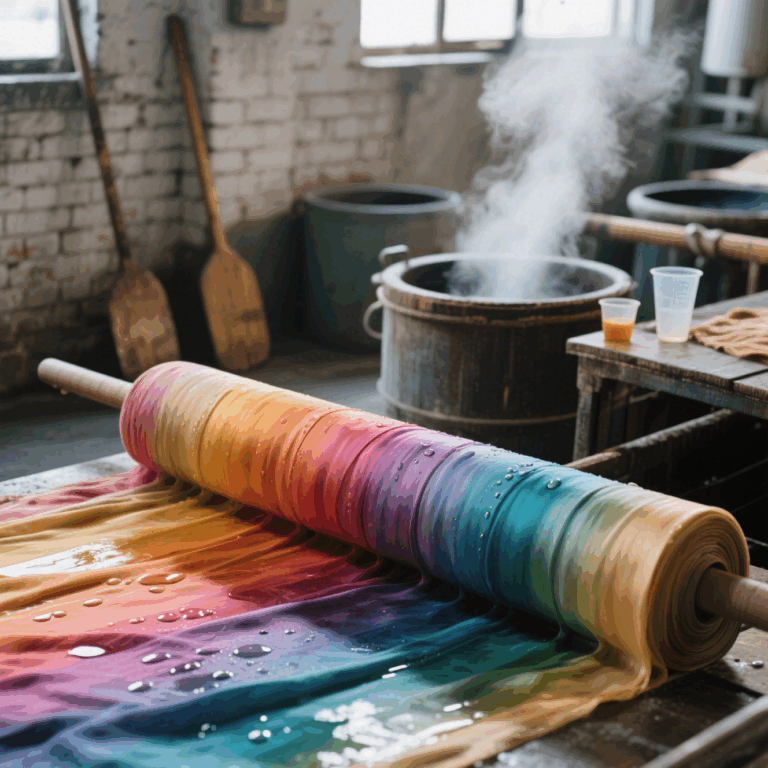
Finally, the much – anticipated “formal” dyeing process begins. At our facility, we use “soaking” type dyeing machines, which offer a distinct advantage. In these machines, the dye soaks into the silk fabrics from the inside out. This method minimizes the friction between the machine and the delicate silk fabric, thereby reducing the potential for damage.
During this process, the color fasten process also commences. Color fastness is a critical aspect of dyeing, as it determines how well the color will withstand various factors such as washing, sunlight, and friction. Our advanced machines are designed to ensure that the dye penetrates the silk fibers evenly and bonds firmly, resulting in long – lasting and vibrant colors.
After the dyeing process, the silk fabric often experiences some shrinkage. To address this, the next step is width fixing and drying. Our state – of – the – art equipment is used to carefully stretch and fix the width of the fabric, ensuring that it meets the standard dimensions and has an even appearance.
In some cases, part of the color fasten process is also completed during this stage. Once the width fixing and drying are done, the fabrics are sent for the first round of inspection. Any visible defects or irregularities are identified and noted. If the inspection reveals no issues, the fabrics are then packed. However, if our clients require the silk fabrics to be softer, we have specialized machines to apply post – treatments.
The final and equally important step in the silk fabric dyeing process is quality inspection. We employ a two – pronged approach, using both inspection machines and experienced QC personnel. The inspection machines are equipped with advanced sensors and imaging technology to detect even the slightest defects, such as color variations, stains, or fabric irregularities.
Our QC personnel, on the other hand, bring their years of experience and trained eyes to the inspection process. They carefully examine the fabric for any issues that may have been missed by the machines. This comprehensive inspection ensures that only the highest quality silk fabrics leave our facility.
It’s worth mentioning that there are additional techniques that we may apply depending on the specific requirements of the silk fabric. For example, if we want to prevent silk crepe de chine fabric from shrinking after it is made into dresses, we will apply preshrinking treatments. Similarly, if we want to make silk satin less shiny or silk habotai fabric much softer, we turn to the sand washing process to achieve these goals.
The process of silk fabric dyeing is a complex and meticulous one that requires a combination of technical expertise, attention to detail, and a passion for quality. From the careful selection of silk bases to the final quality inspection, each step plays a crucial role in creating the beautiful, high – quality silk fabrics that are beloved by fashion designers, consumers, and textile enthusiasts around the world. Whether it’s for a luxurious evening gown, a delicate scarf, or a stylish piece of home decor, the art of silk fabric dyeing continues to captivate and inspire.